Tip
The docs as explained here are used in multiple projects, but documented only once for better maintenance. When applying this to other projects, remember that some things such as the name, repository, or paths are a bit different.
Build the Documentation
Start with Visual Studio Code
➡️ Make sure you already did the steps in Run Locally using VS-Code.
Install DocFX
The documentation tool we use is docfx, which needs to be installed on your development machine. You can install it using the following command:
dotnet tool install -g docfx
Two Build Processes: Docs and Docs+Code
We've configured the most important build commands in VS-Code so you can just get started.
They are located in .vscode/tasks.json.
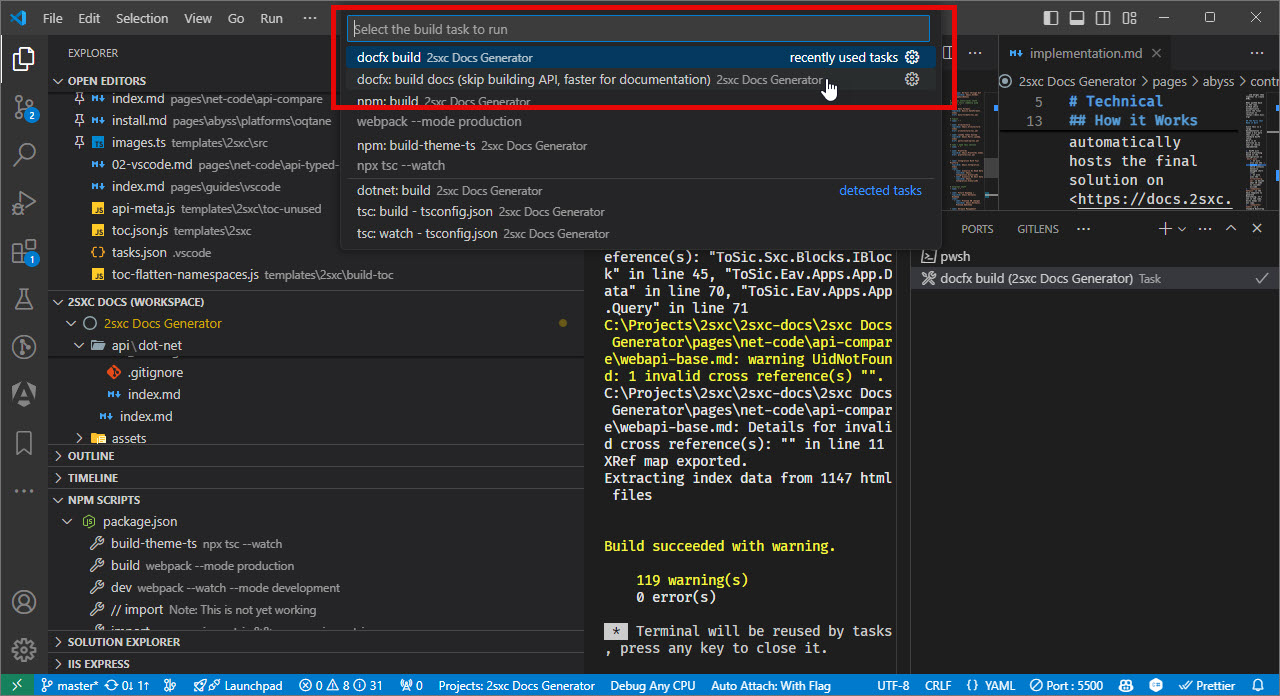
Hit Ctrl + Alt + B to see the build-commands.
These two are of interest:
docfx: build docs (skip building API, faster for documentation) will only build the markdown files, which is much faster if you're only working on the docs.
Note that this should work, even if the C# code doesn't compile.docfx build will compile the real source code, generate the docs from the XML-comments and merge them with this project's markdown files.