Configure Columns
Use column configuration to control what users see and click in the table.
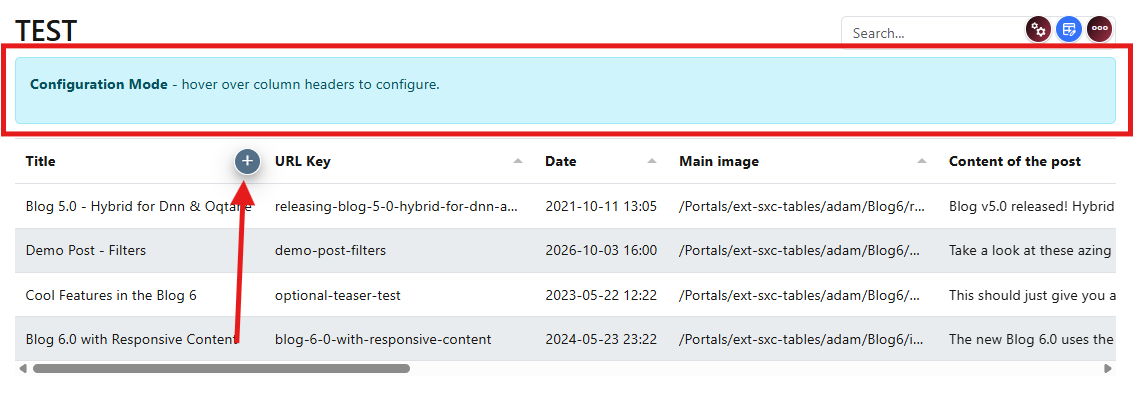
Enable Configuration Mode
First enable Configuration Mode in the toolbar.

Once enabled, you can now edit columns.
Add and Configure Columns
When configuration mode is active, hover a column header and use the plus icon to initialize that column.

In the column settings dialog, configure:
Displayed Title
The heading shown in the table for this column.
Field Name
The data field this column displays.
Position and Options
Control where the column appears and set any special behaviors.
Arrange and Verify
After configuring columns, arrange them by dragging.
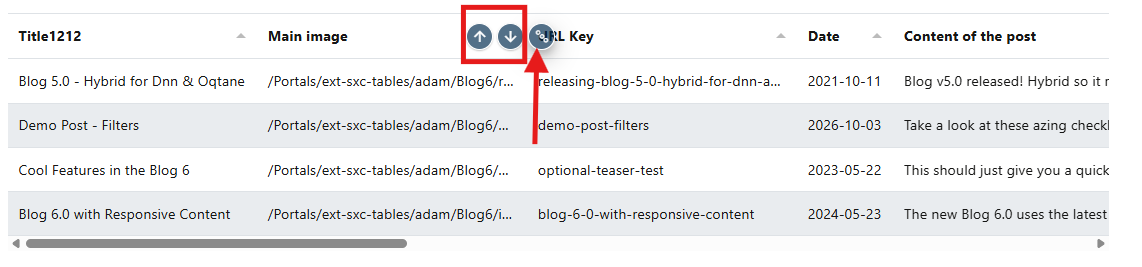
Save and verify the table now shows your preferred columns in the correct order.
Next step: