Radmin Getting Started
These docs use examples made in a Blog App. This guide shows the fastest way to get your first Radmin table running.
Tip
Since Radmin is meant to admin data, it's best to add it to a page which is not visible to the public, and only accessible to admins.
If you add it to a page which is visible to the public, the table will not show any data to external users, because the backend will refuse to deliver data unless specifically allowed to do so.
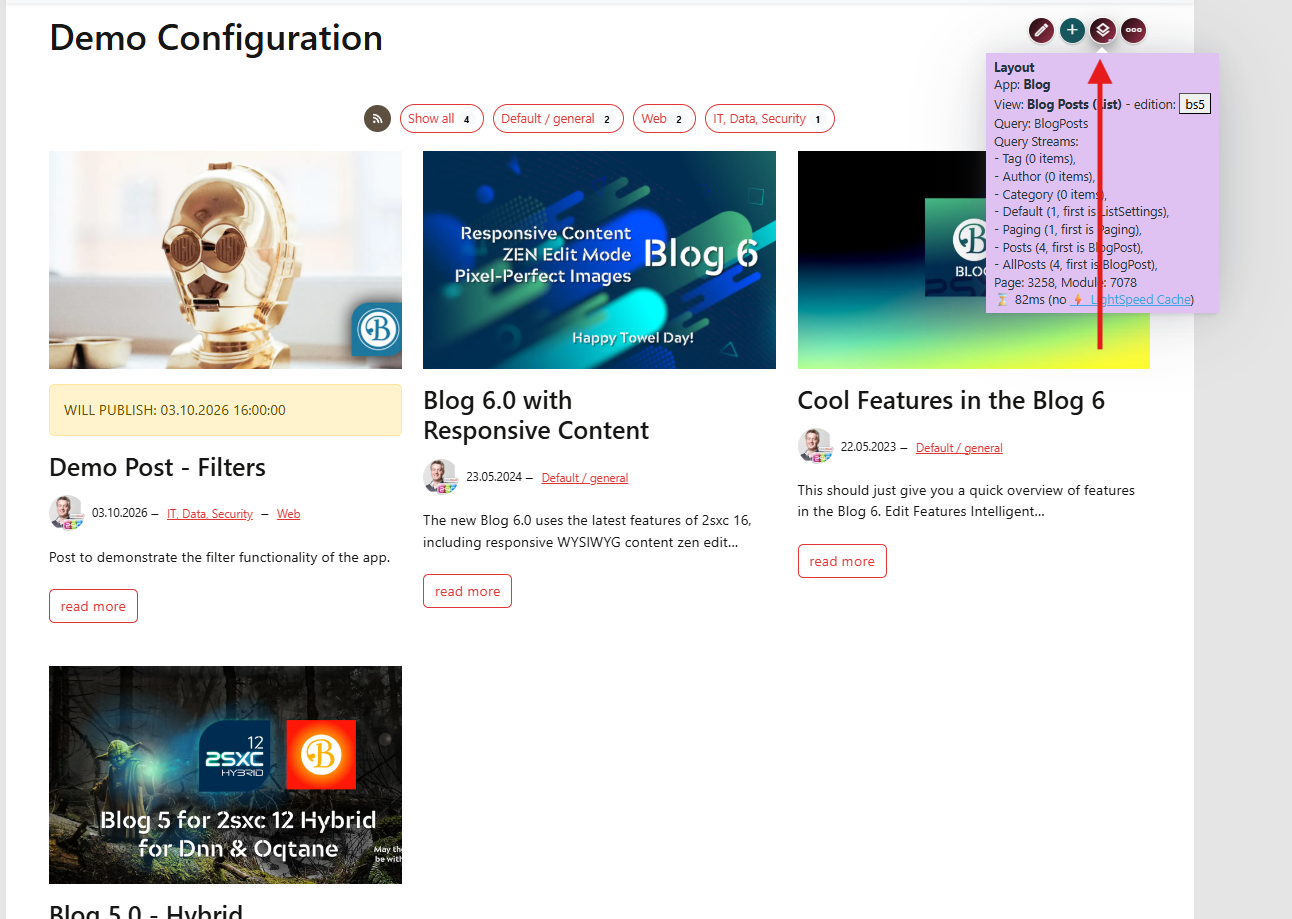
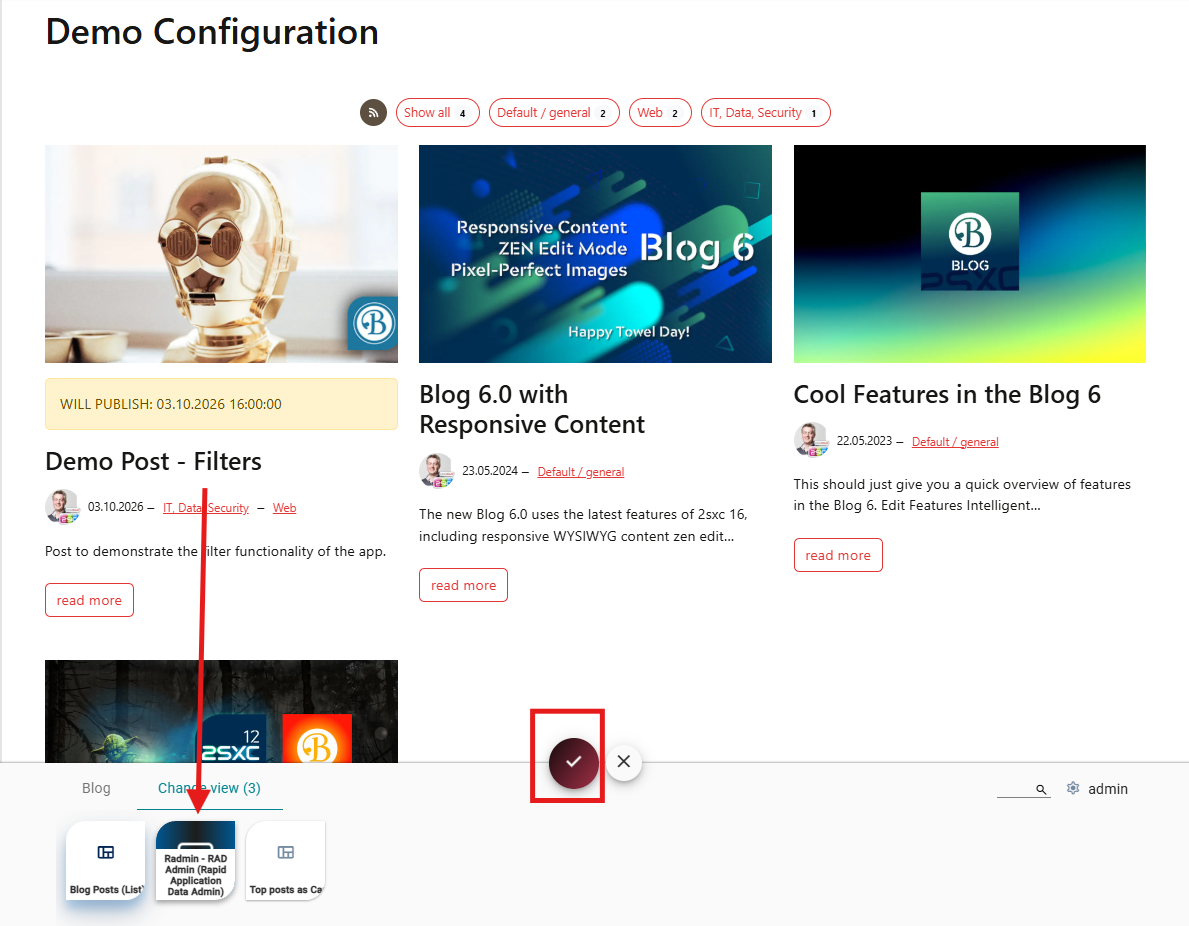
Add Radmin to a Page
Add a Radmin view to your page. For this example, we'll create it in a Blog App.

Configure Basic Values
Open the view settings and configure the basic values:
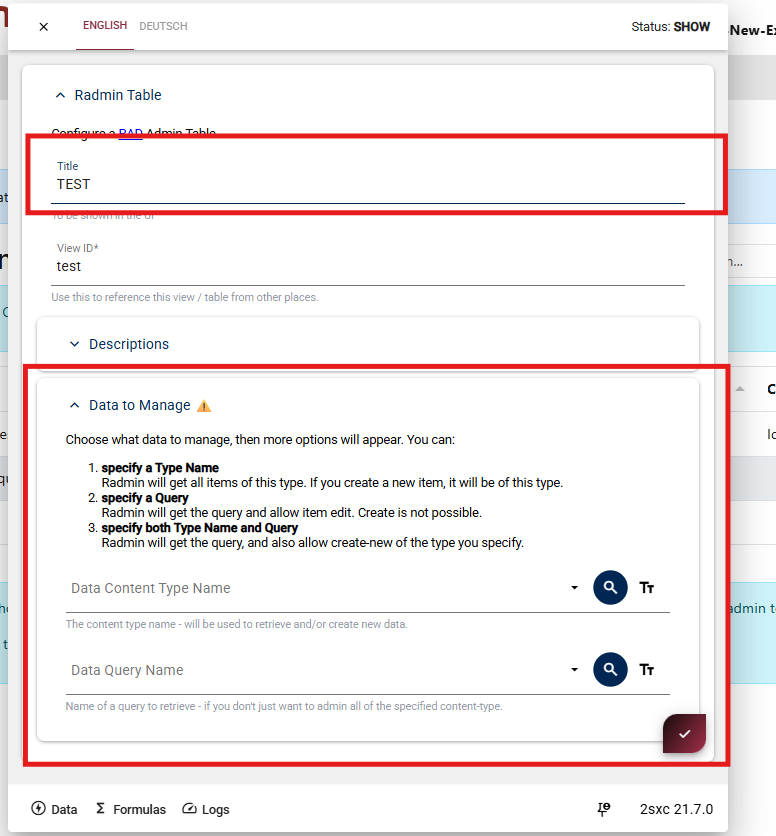
Title
The heading shown above your table.
View ID
A unique identifier for this Radmin setup.
Data to Manage
The initial data source for your table.
After setting these values, save the dialog.
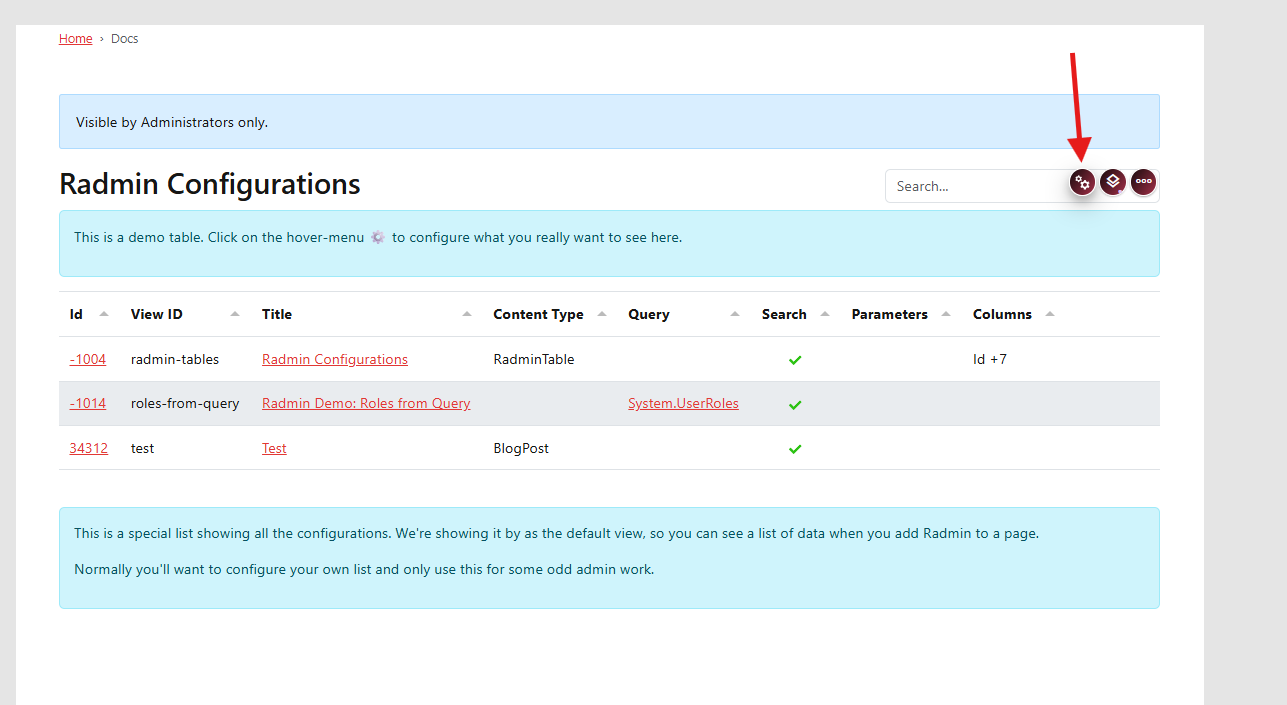
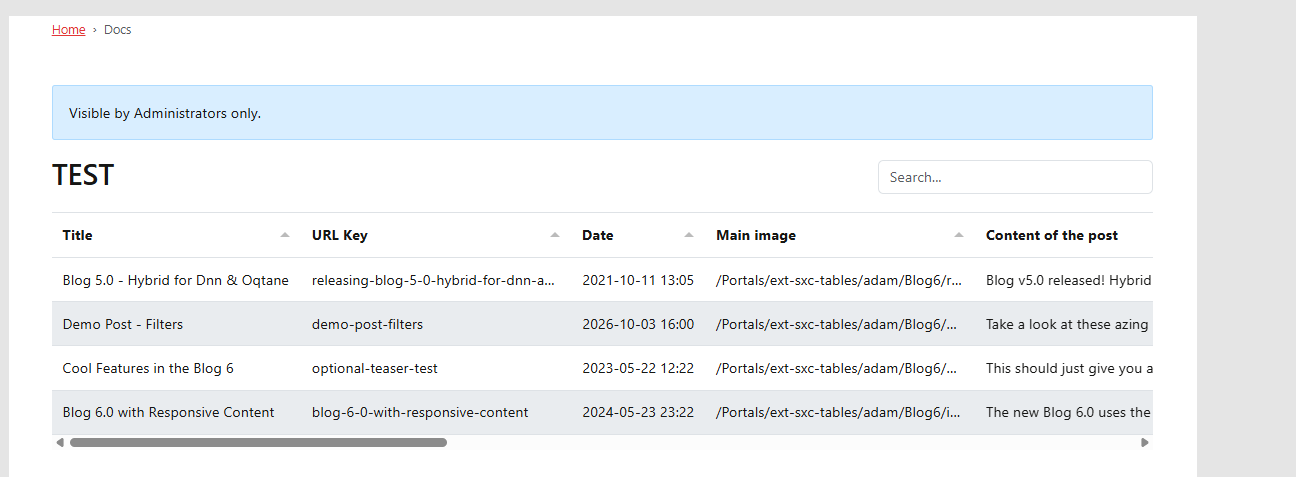
View Your First Table
When done, you should see your first working table.
Next step:
Continue with Configure View to understand each setup option.