
Formula Designer
In the Edit-UI you can always enter a Developer-Mode to develop / debug your formulas using real life data.
Enter Developer Mode
When the edit form is open, press Ctrl + Alt + Shift (Ctrl + Option + Shift on Mac) and click anywhere in the form. The debug bar should appear. If you have difficulties, use this checklist.
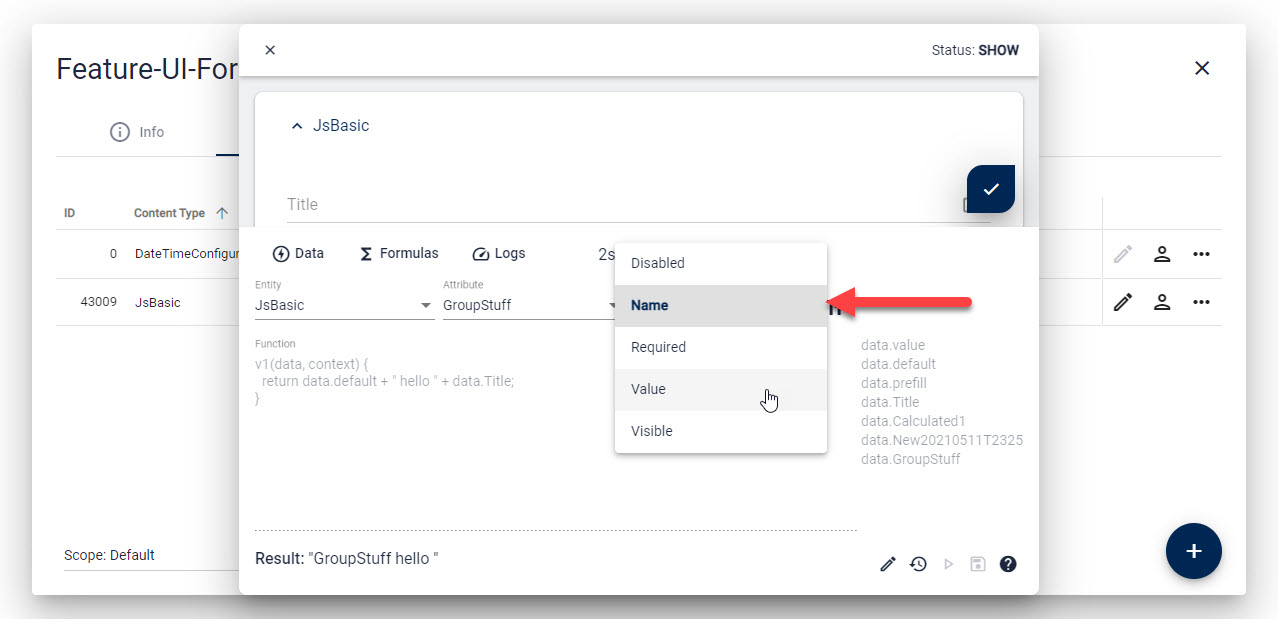
Select Formula to work On
In the dialog you'll see dropdowns to select the entity, field and property. Things that already have a formula are bold:
The Formula Designer
These are the important parts in the UI:
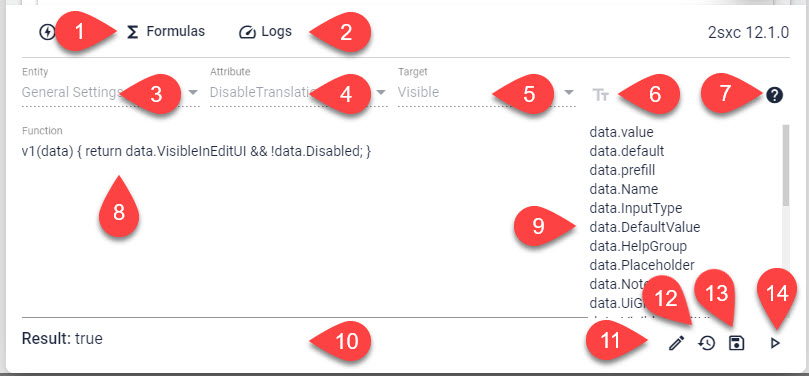
- Tab for the Formula Designer
- Tab for logs/errors caused by formulas
- Pick the Entity on which to edit a formula - this often has only 1 entry
- Pick the Field on which to edit the formula
- Pick the Property or select Value to determine what the formula affects
- Free-Text entry to create formulas for other properties. Use
Fields.Settings.SettingName - Help
- Formula code - see JS Formulas docs
- Data-Snippets showing you what the
dataobject has for use in your code
This is only visible in v1, but not in v2, as v2 has intellisense and doesn't need this - Results (live) when the formula is running to show what came out of it
- Edit to enter formula edit mode
- Reset the formula to what it was originally
- Save
- Play / Run the formula
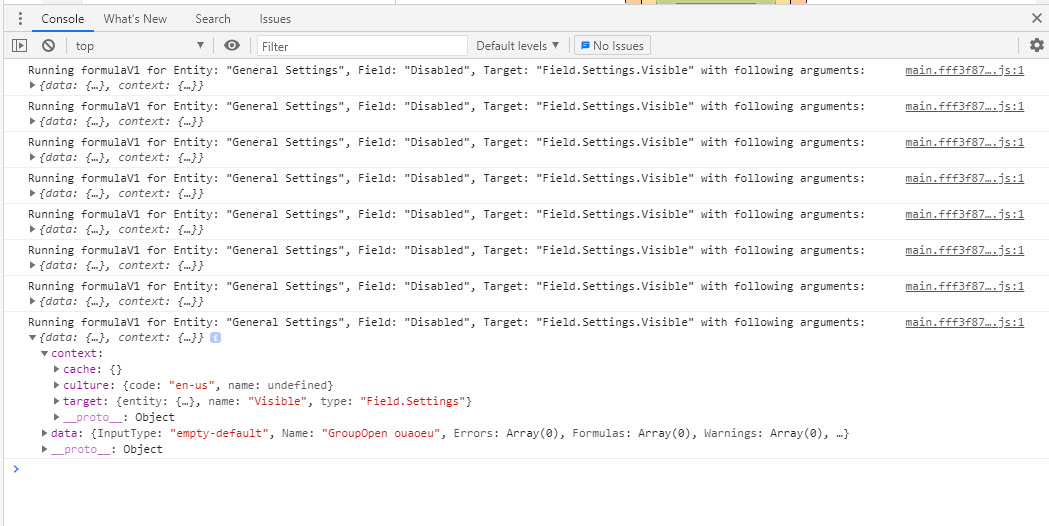
Debug Formulas
By default, as soon as you're working on a formula, it will dump the data, context and result to the console once it's running.
This is what that looks like (Make sure to enter developer mode in Chrome using F12):
You can also to do additional debugging. For that please consult the JavaScript Formulas Docs
History
- Added in 2sxc 12.01
- Ability to also create new formulas directly in the UI ca. 2sxc 14
- Enhanced new v2 API in 2sxc 15.7 - officially released in 16.0